Adding a Shared Exchange Mailbox to Outlook 365

Adding a Shared Exchange Mailbox to Outlook 365 is a little different from previous versions of Outlook. Here is a little step-by-step guide on accomplishing this task.

  1. Start Outlook 365 and next to your name, click the button with the 3 dots:
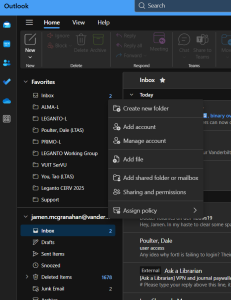
Outlook 365 More menu options

2. Click on the “Add shared folder or mailbox” option:

Add shared folder or mailbox prompt

3. Enter the email address of the shared mailbox:
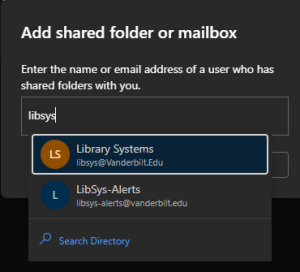
Begin entering the email address of the shared exchanged mailbox.

4. If Outlook recognizes the email address, it will pop up. Just click the one that you want and then select Add:
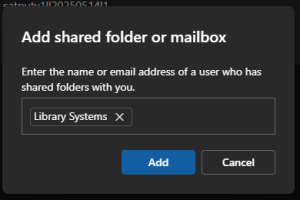
Outlook 365 identifies mailbox

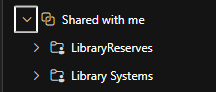
5. Now back in Outlook 365, in your list of folders, look for “Shared with me” folder:
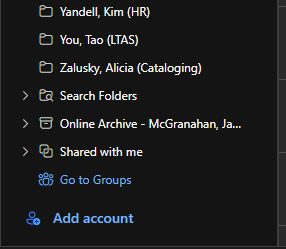
Where to find your Shared Exchange Mailbox? Look in the "Shared with me" group near bottom of the listing of folders.

6. Expand that folder:

Expand the Shared with me group to see all of the Shared Exchange Mailboxes you have added.

And this is where your Shared Exchange Mailboxes are located.

How to access Shared Exchange Mailbox via the web

Occasionally, there are problems with the Outlook client but you really need to access a shared exchange mailbox. One way to do this is via the web:

http://outlook.com/owa/{emailbox}@vanderbilt.edu

So, if you are trying to access the Central Circulation email box, your URL would look like this:

http://outlook.com/owa/cencirc.library@vanderbilt.edu

It will then prompt you to log in, which you will use your own Vanderbilt email address and epassword and if you are authenticated & authorized, you will see the mailbox.