Adding a Shared Exchange Mailbox to Outlook 365 is a little different from previous versions of Outlook. Here is a little step-by-step guide on accomplishing this task.
- Start Outlook 365 and next to your name, click the button with the 3 dots:
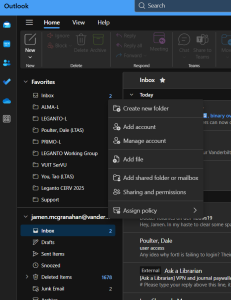
2. Click on the “Add shared folder or mailbox” option:

3. Enter the email address of the shared mailbox:
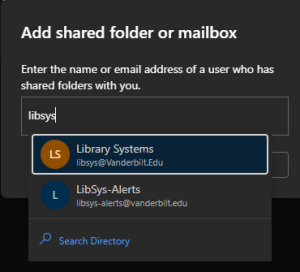
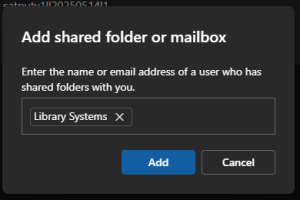
4. If Outlook recognizes the email address, it will pop up. Just click the one that you want and then select Add:
5. Now back in Outlook 365, in your list of folders, look for “Shared with me” folder:
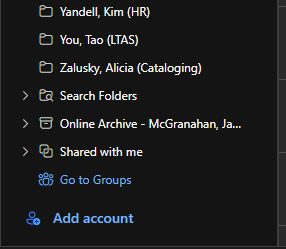
6. Expand that folder:
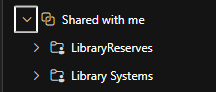
And this is where your Shared Exchange Mailboxes are located.